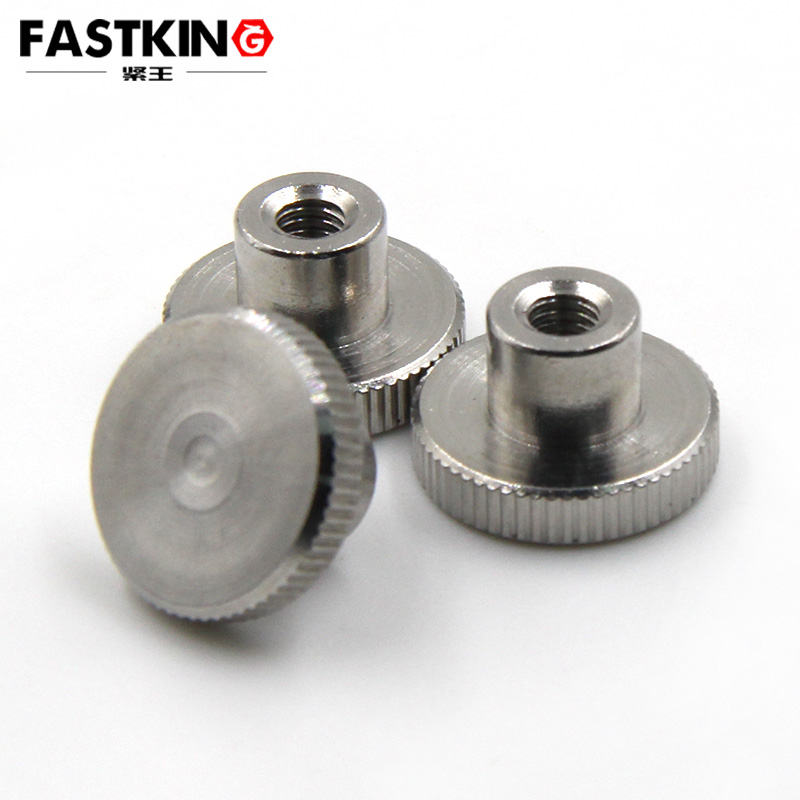
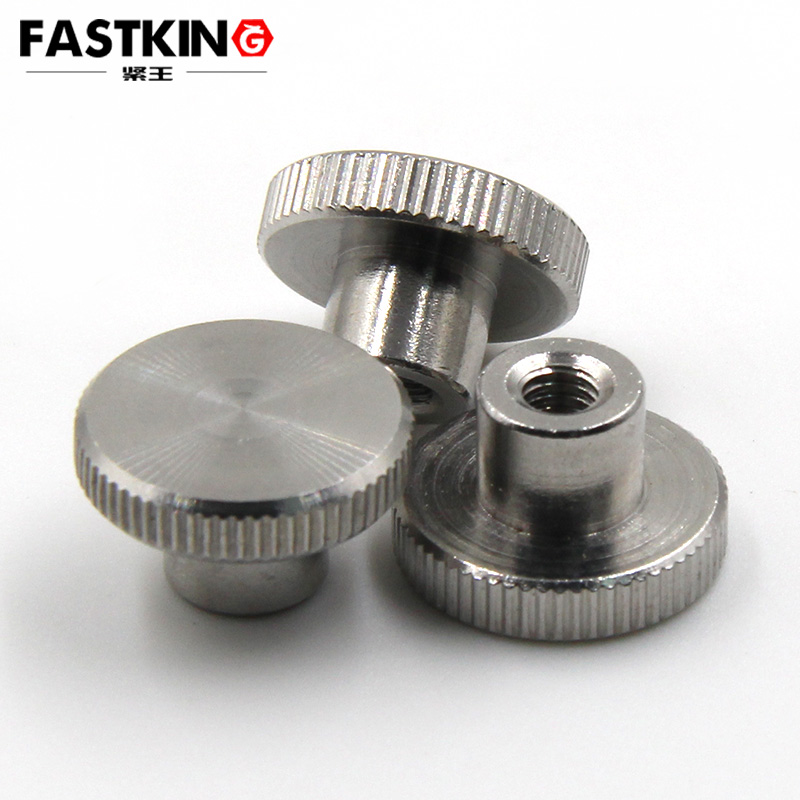
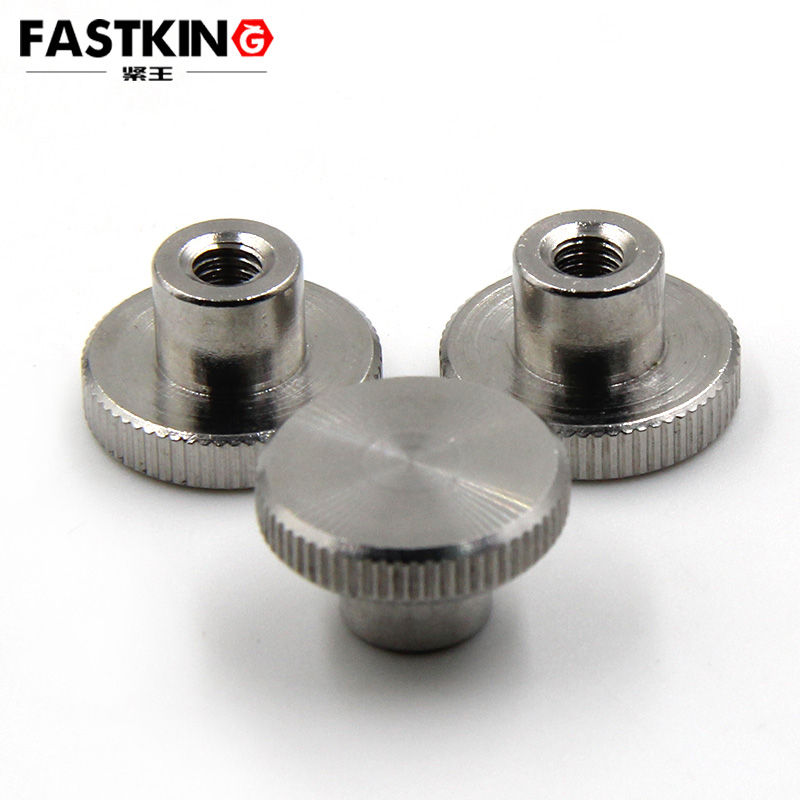
A knurled shoulder blind hole nut is a specially designed fastener named for its three key features:
Knurling: The outer surface has pressed patterns for enhanced grip.
Shoulder: A stepped structure with varying diameters for positioning and limiting.
Blind Hole: A threaded hole closed at one end to protect threads and prevent debris ingress.
Compared to standard nuts, knurled shoulder blind hole nuts offer significant advantages:
Improved grip for manual or automated installation.
Precise axial positioning due to the shoulder design.
Thread protection from damage and contamination.
Reduced assembly complexity with an integrated design.
Space-efficient, ideal for confined installation environments.
Structural Features
Knurled Section
- Typically features straight or diamond knurling for better grip.
- Enhances manual handling and robotic assembly stability.
Shoulder Structure
- Consists of multiple cylindrical tiers:
- Larger diameter acts as a stopper.
- Smaller diameter provides alignment.
- Prevents over-tightening and ensures accurate positioning.
Blind Hole Threads
- Closed-end design protects threads and prevents cross-threading.
- Often includes a relief groove for machining precision.
- Available in metric or imperial thread standards.
Material Options
- Carbon Steel: Cost-effective, moderate strength.
- Stainless Steel: Corrosion-resistant for harsh environments.
- Brass: Electrically conductive, EMI-resistant.
- Aluminum: Lightweight, excellent heat dissipation.
Installation Guidelines
Pre-Installation Checks
Verify thread compatibility between nut and bolt.
Clean threads to remove debris or lubricants.
Ensure correct orientation (blind end typically faces inward).
Manual Installation Steps
Align the smaller shoulder diameter with the mounting hole.
Hand-tighten using the knurled grip.
Rotate until the larger shoulder contacts the surface.
Final-tighten with a suitable tool (e.g., socket wrench).
Confirm torque meets specifications.

Automated Installation Tips
Use precision feeding mechanisms for alignment.
Set optimal torque and RPM for robotic assembly.
Post-installation: Check thread engagement depth.
Usage Precautions
Avoid over-tightening to prevent thread stripping.
Regularly inspect for loosening, especially in high-vibration settings.
Apply thread-locking compounds or washers in dynamic environments.
Prevent galvanic corrosion when mixing dissimilar metals.
Key Application Scenarios
Electronics Industry
PCB Mounting: Secures circuit boards in smartphones, tablets.
Enclosure Assembly: Joins device housings (e.g., laptops, wearables).
Heat Sink Attachment: Anchors cooling modules to CPUs/GPUs.
Port Reinforcement: Strengthens USB, HDMI, or power connectors.
Automotive Sector
Interior Trim: Fixes dashboards, door panels.
ECU/Sensor Mounting: Secures control units and ADAS components.
Cable Management: Attaches wiring harness brackets.
Exterior Accents: Fastens non-structural aesthetic parts.
Industrial Machinery
Control Panel Fixation: HMI interfaces, button panels.
Safety Guards: Quick-release covers for maintenance access.
Sensor Mounts: Strain gauges, proximity sensors.
Micro-Motor Installation: Small actuators/pumps.
Home Appliances
- Washing machine control boards.
- Microwave oven internal components.
- Air conditioner PCB mounts.
- Small kitchen appliance casings.
Medical Equipment
- Imaging device housings (MRI, X-ray).
- Modular surgical tool connections.
- Portable diagnostic device frames.
- Sterilizable instrument assemblies.

Selection Criteria
1. Dimensional Fit: Match thread size, shoulder height, and load requirements.
2. Material Compatibility:
- Standard: Zinc-plated carbon steel.
- Humid/Corrosive: Stainless steel.
- EMI-Sensitive: Brass.
- Weight-Critical: Aluminum.
3. Performance Needs:
- General use: Standard grade.
- High-stress: Alloy steel.
- Frequent disassembly: Hardened threads.
4. Cost Efficiency: Balance performance with budget constraints.
Maintenance & Troubleshooting
Common Issues & Solutions
Stripped Threads: Caused by over-torque/material fatigue → Replace nut/bolt.
Loosening: Due to vibration → Apply thread locker or locking washers.
Corrosion Seizure: Improper material/environment → Switch to stainless steel/brass.
Removal Techniques
Use a deep socket for even force distribution.
Apply penetrating oil for rusted nuts.
For damaged nuts: Nut splitter or careful drilling.
Account for thermal expansion in high-temperature settings.
Future Trends

Advanced Materials: Nanocomposites, ultra-high-strength alloys.
Smart Nuts: Embedded sensors for real-time tension monitoring.
Enhanced Coatings: Durable anti-corrosion treatments (e.g., PVD).
Customization: 3D-printed nuts for niche applications.
Sustainability: Recyclable/biodegradable materials.
Conclusion
Knurled shoulder blind hole nuts exemplify functional integration in fastening technology. As industries evolve, their applications will expand, driven by material science and smart manufacturing advancements, ensuring reliable, efficient connections across sectors.
